I’ve been thinking about making one of these pumpkins for a while so on Friday I decided to stop procrastinating, bite the bullet and got down to business. I made a list of everything that I needed, gathered it all together and started the Great Pumpkin Journey.
By day’s end, this is what I found in my pumpkin patch…a pumpkin of course…crazy quilt style!
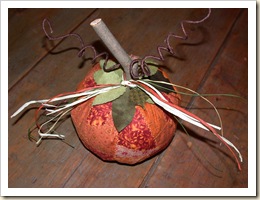 So if you’d like to follow along to see how I made this little guy, grab a cup of your favorite beverage, pull up a chair and join me on my Great Pumpkin Journey.
You’ll need 10 – 6 1/2” squares of fabric.
 I didn’t have 10 different orange-y fabrics so I duplicated 2 of them. The ones in the upper tier are for a second pumpkin…when I get around to it.

You will also need a template. I made mine on a piece of computer printer paper simply because it was easier to copy that way.
Below is a photo of the one I drew. It is a 6 1/2” square with a line drawn from one side to the other but not centered and on a slight angle. Then there are two lines drawn on either side of this line, once again not centered and on different angles. Where you place these lines will determine the shape of your ‘patches’. Use my template below as a guide. Make a photocopy of your template as you will need two of them. I used the ‘copy’ feature on my printer to do this. Trim off the outside edges on both copies so all that remains is an intact, 6 1/2” square.
 Separate the 10 – 6 1/2” squares of fabric into 2 piles of 5 each then place one paper template on top of each of the stacks. Align the layers of fabric and the templates to form a neat stack.
 The lines are your cutting lines. Starting with the center line and using your rotary cutter, cut across this line and through all layers of fabric. Cut through all of the lines and repeat this step for the second stack of fabric. Discard the bits paper.
 Stack the two piles on top of one another with like shapes matching.
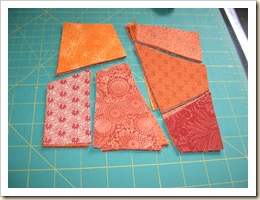 Randomly stagger the order of the fabrics in each pile so that they are not in the same sequence within each pile.
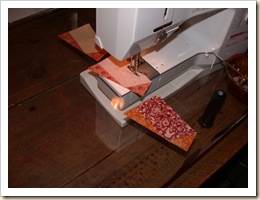 Each of the two sets of 3 pieces on either side of the center line are worked on separately. Starting on the left side, sew two pieces together and repeat this for all ten layers in those same two stacks. Chain piecing makes this step go quite quickly.
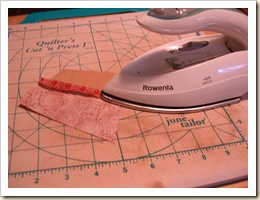 If you chain pieced, snip the connecting thread that is holding them together and iron the seams open.
Note: Every seam in this project is ironed open.
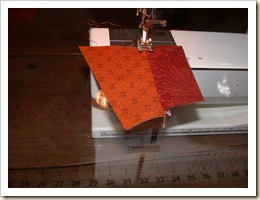 As is the style with crazy quilts, I elected to do a decorative feather stitch, centered on the top and in the center of each sewn seam. This is the reason why all of the seams are ironed open…to facilitate the sewing of the decorative stitch across an evenly distributed seam allowance.
Sew the third piece to the other two…
 and iron the seam open. Add your decorative stitch to the right side of this seam.
 Square off the center seam line only.
 Repeat this exact procedure for the three pieces on the other side.
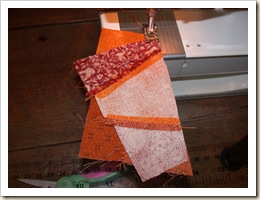 Join the two sides together and iron the seam open.
 Don’t forget to add the decorative stitching on the top of the joined seam. Repeat this step to make 10 blocks in total.
 Square off each block to 4 1/2”
 Make two rows with five blocks in each row. Play with the blocks until you get a sequence that you like. I tried to make sure that no two of the same fabrics lined up side by side…but if it happens, who cares? It’s a crazy quilt!
 Sew the five blocks together in each row and then sew the two rows together. Remember to iron each seam open and to add the decorative stitching on the top of each new seam.
 With right sides together, sew the short ends to form a tube.
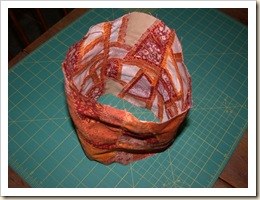 Turn the tube right side out. Iron the seam open and add the decorative stitch to this seam as well.
 With doubled thread, sew a running stitch approximately 1/4” in from the outer edge and around the the entire perimeter of the bottom.
 Gather together and fasten off.
 Turn right side out.
 Stuff with fiberfill. Sew a running stitch around the top edge in the same manner as you did for the bottom and gather it towards the center. Do not fasten off yet.
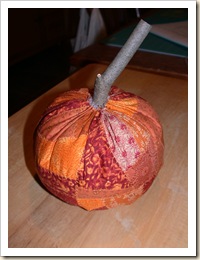 Insert a branch into the center for the stem, easing it down as far as you can, then fasten off the gathering thread.
Note: For the stem, I just went into my garden and found a branch that had fallen from a tree and cut it to the appropriate size.
 Cut two 12” pieces of grapevine wire (I purchased mine at Michael’s some time ago) and wrap each around a dowel or pencil to make them look like tendrils. If you can’t locate the grapevine wire, any wire will do, including florist’s wire.
 Add a drop of glue to each of the ends and gently ease them into the center of the pumpkin on either side of the stem.
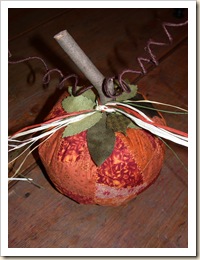 Tie some raffia around the stem, add some wool leaves with a drop of glue and there you have it…a crazy quilt pumpkin…all finished and ready to compliment your Fall decor.
♥ ♥ ♥ ♥ ♥
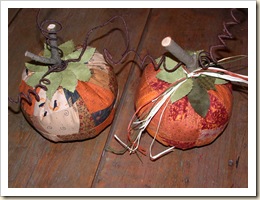
Edit: Yesterday I completed a companion pumpkin with ‘primitive’ style fabrics. The only thing different is I chose to omit the decorative top stitching.
 Don’t they make a happy couple? ♥
 Happy stitching!
Kaaren ♥


