Prudence.
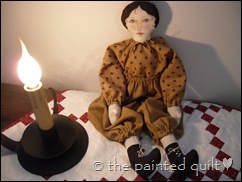
Not too long ago I began making some mini or doll-sized quilts and although I do have several cloth dolls in my collection, none are really vintage looking and none were made by me. So I decided to try to make my own and what follows is how Prudence evolved.

I recently joined a Yahoo group called ‘Small Quilt Talk’ hosted by Kathleen Tracy and of late, there has been a lot of talk about dolls and doll making. I love to read the friendly and casual banter about gals who have made dolls, those who have ordered doll kits but for one reason or another they have remained as such and those who aspire to make a doll. I didn’t realize that I fell into the last category until yesterday.

“Why can’t I make one?” I asked myself.
I love a challenge. So out came the sketch book and the preliminary drawings were made. I fussed around a bit and finally came up with a pattern that turned out to be quite workable. I didn’t want the pattern to be too large so I designed it to fit on a 9” x 12” piece of paper.
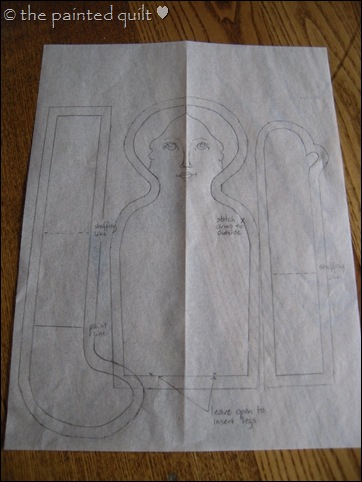
The first step was to make two photocopies of the pattern because in order to fit it on a 9” x 12” piece of paper, I had to overlap some of the elements.

I then cut out the pattern pieces...

pinned them to some muslin fabric from my stash…

and then cut them out.

Before sewing the pieces together, I used my light box to trace the face onto the right side of the fabric. Then I sewed the pieces together, turned them right side out and stuffed them with polyester fiber fill.

Next came my favorite part…bringing Prudence to life. First, I painted her facial features. I am an artist by profession and although I’ve never painted a face on fabric before, I found out that it was not much different than painting on canvas.
I wanted Prudence to look kind of primitive and demure…

because after all, she lived in the mid 1800’s.
Once the face was created, I attached her legs and arms.
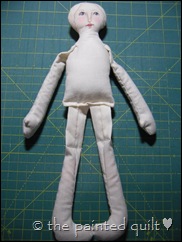
I then painted her hair and boots…and of course gave her a ♥.

I started to make her clothing and to dress her when I remembered to add her name and to sign and date it on her back.

I have never made any kind of clothing before, so I was really out of my comfort zone now. What I did was have a close look at how some of my other doll’s clothing was made and proceeded from there.

She was a lot of fun to make, especially since this was my first attempt at something like this. I never did play with dolls much as a child so I guess I’m trying to make up for lost time. *wink*
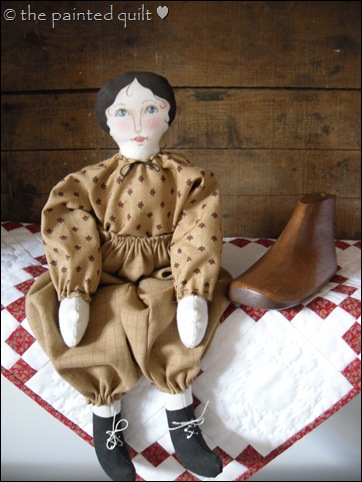
If you would like to download the PDF file of pattern that I designed and used, just click here.

Would you be interested in a step-by-step tutorial on creating her face? I’d be happy to comply. Honestly, it’s not as difficult as you may think.
Happy stitching!
Kaaren ♥